How to Tattoo Your Quilt


These are so simple to make, and are just so fun to dream up—when I'm piecing together the top of the quilt I'm usually musing about all the things I want to say to the recipient, and now I have a way to tattoo at least one of those thoughts into the back of the quilt.
I start by cutting long strips of letters (or drawings or sayings!) so they are easily cut into individual letters.

From there, the pieces are ready to be sewn together (I usually double check my spelling about a thousand times). Each piece has a quarter inch seam allowance on the right and left of the letter/illustration. You can use a bigger seam allowance to put more space between letters. You also have plenty of unprinted areas on the sheet that you can use for spacing between words.

For the height of the Quilt Tattoo™: after piecing together the letters and illustrations, you can cut the height (off the top and bottom) to match the seam allowance you want.

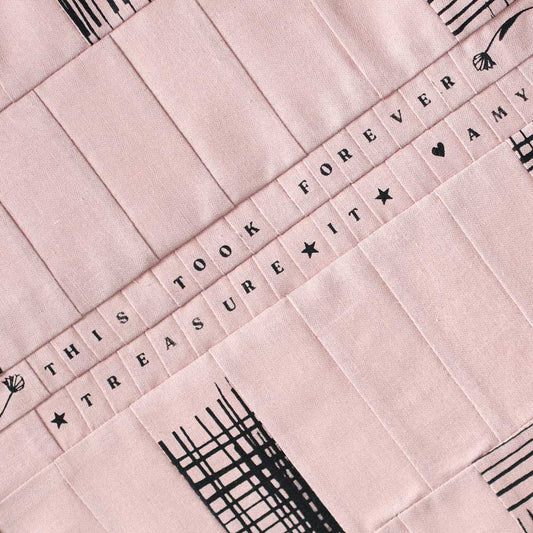
And then you're ready to insert your Quilt Tattoo™ into the backing fabric. I use a yardstick to mark a random angled line, piece the tattoo into that cutline and then move on to quilting the project.
Have fun! While a Quilt Tattoo™ is meant to be as permanent as a skin tattoo, there's always another quilt to make and another fun message you can leave.